Open Tenants and click Add tenant.
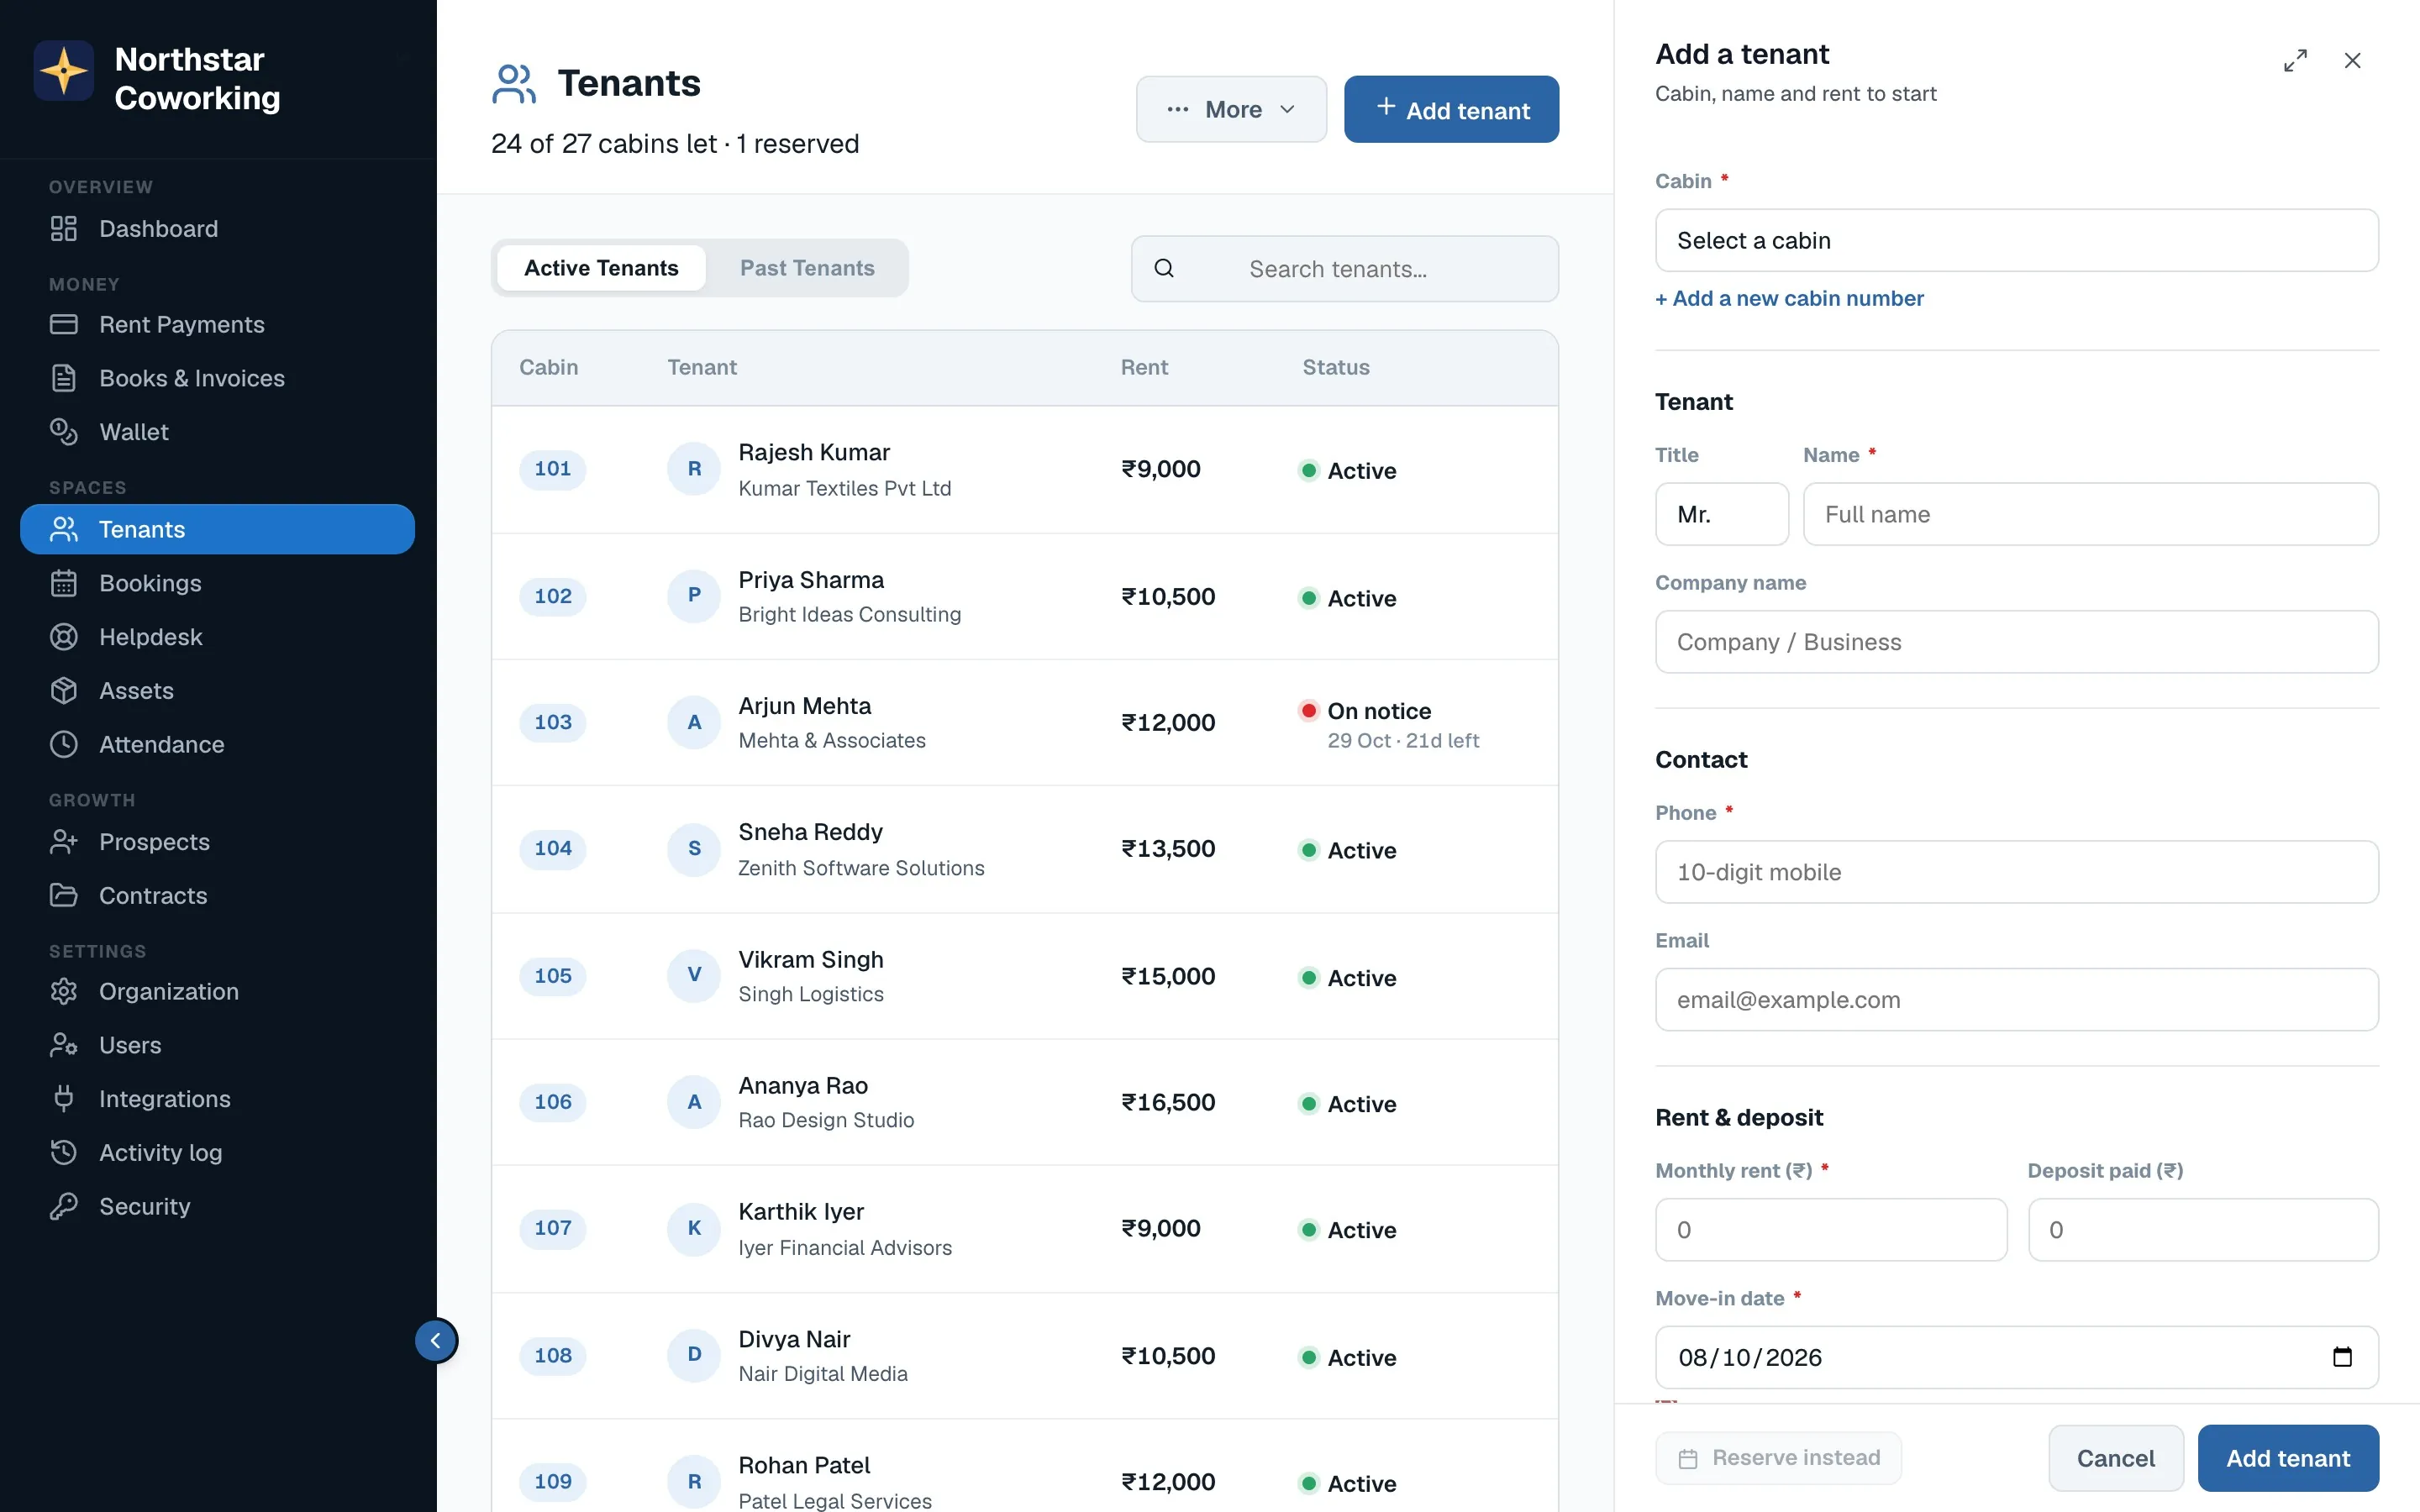
- Enter the person's name, mobile and email. WhatsApp invoices go to the mobile number, so get it right.
- Add the company name and billing address if invoices should carry them.
- Pick the cabin. Only free cabins are offered. Then the monthly rent and the agreement start.
- Enter the deposit received, if any; it is tracked separately and refunded at move-out.
- Save. The tenant appears in Rent Payments from their start month, and gets a portal invite if you tick it.
Importing many tenants
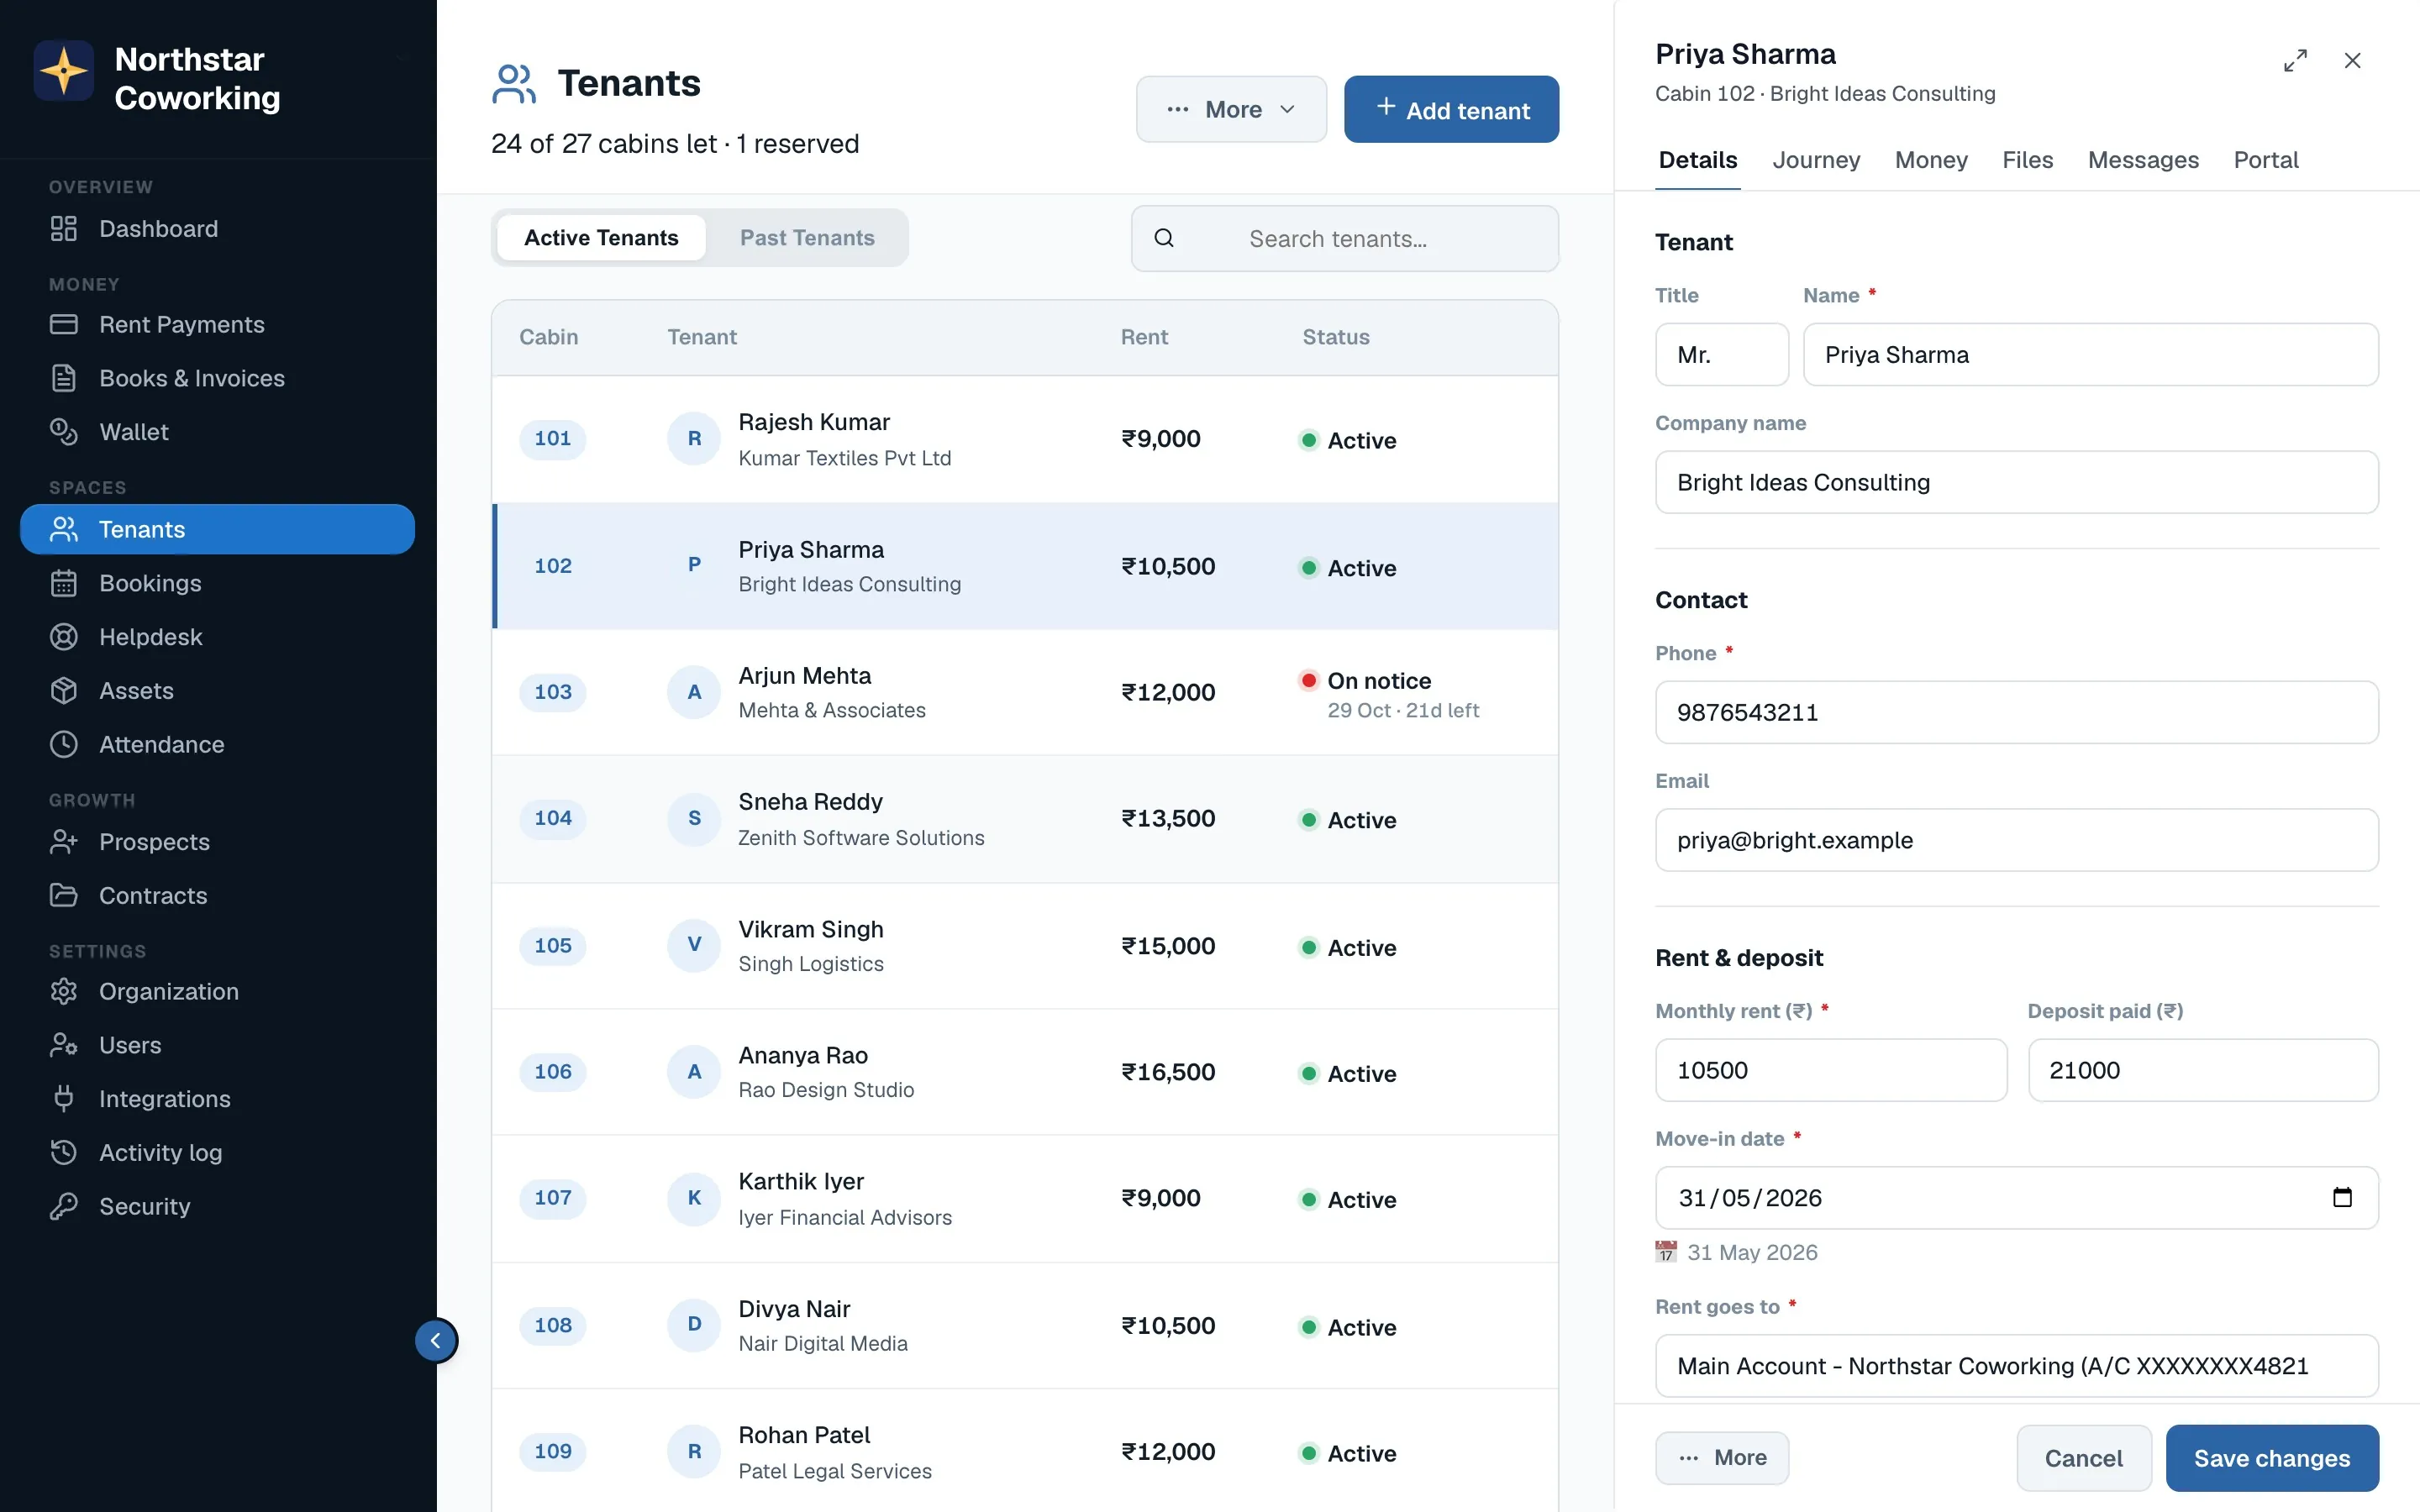
Click More → Import PDF / Excel / CSV on the Tenants page and upload your list. The app maps the columns, shows what it found, and asks you to check before anything is created. On annual plans we do the first import for you.
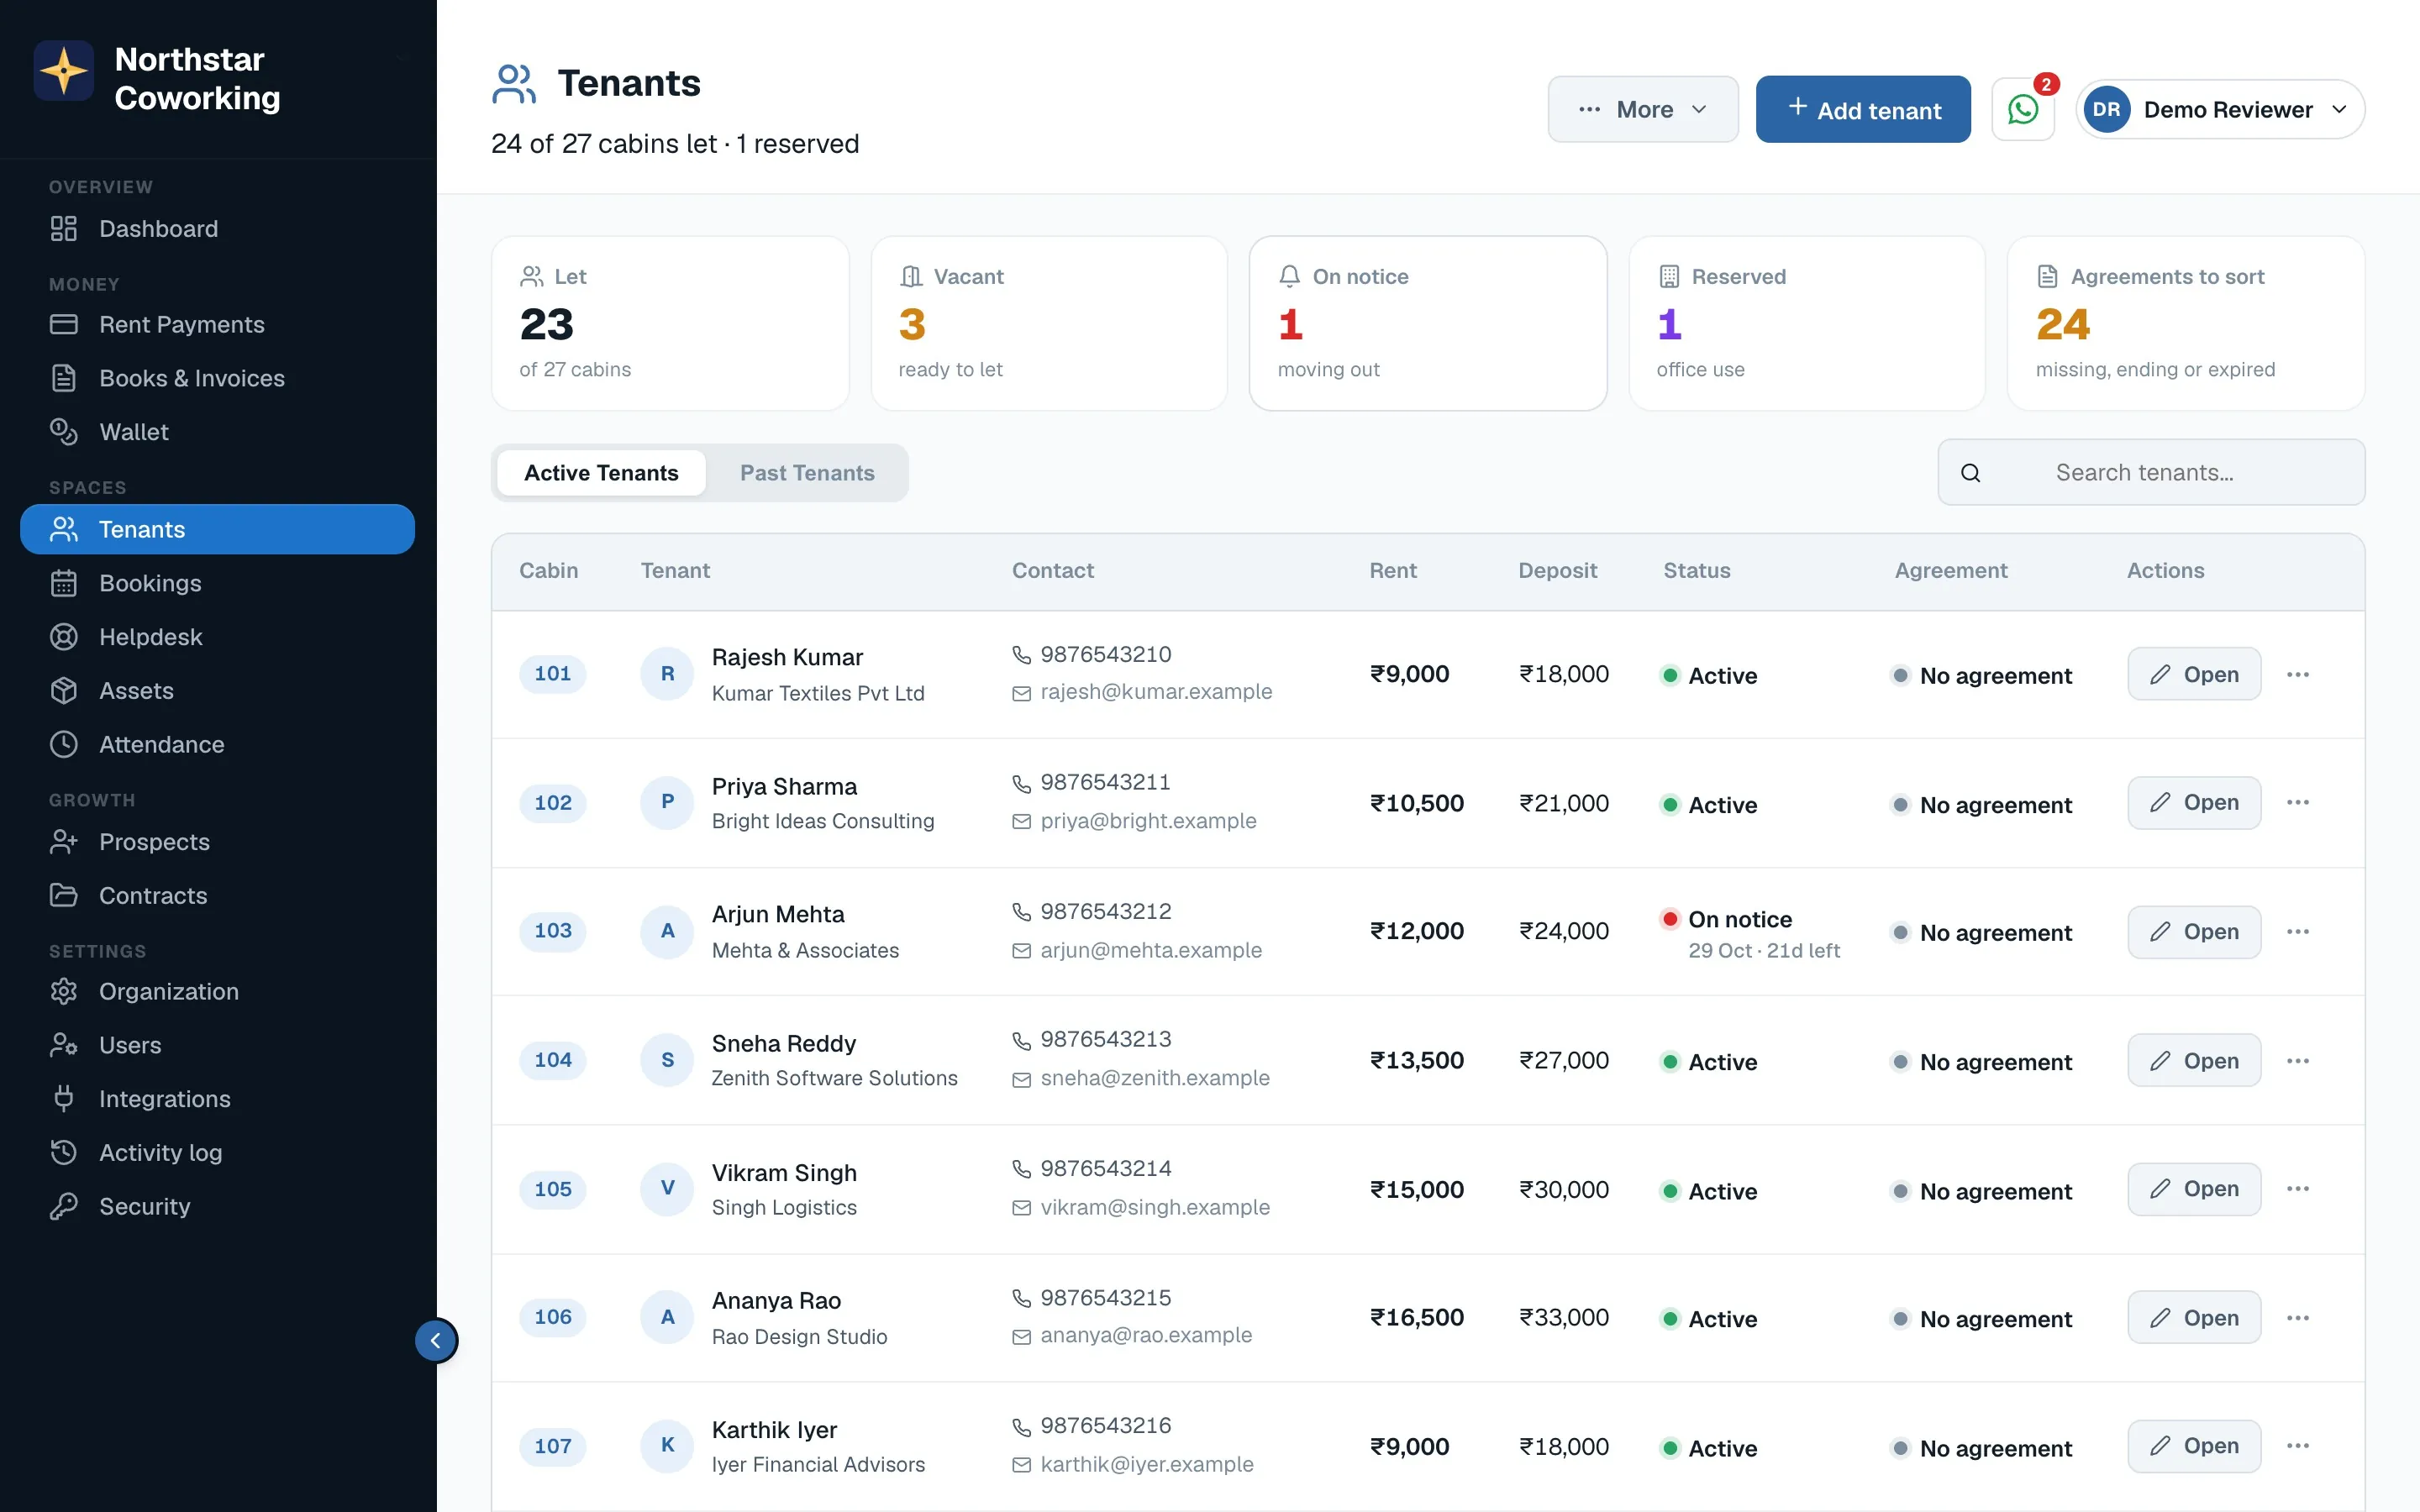
Changing the rent later: open the tenant and click the rent. Past months keep their original rent; the new rent applies from the month you choose.
Related guides
Send the month's rent invoices →Notice period, move-out and deposit refund →Your member portal: sign in and install →
Still stuck? WhatsApp us or write to info@coworkingos.in. Tell us the tenant or screen and we'll sort it with you.