Open Settings → Organization. The left column lists Profile, Branding, Signatory, Spaces, Bank accounts and Documents. Only a Super Admin can change these.
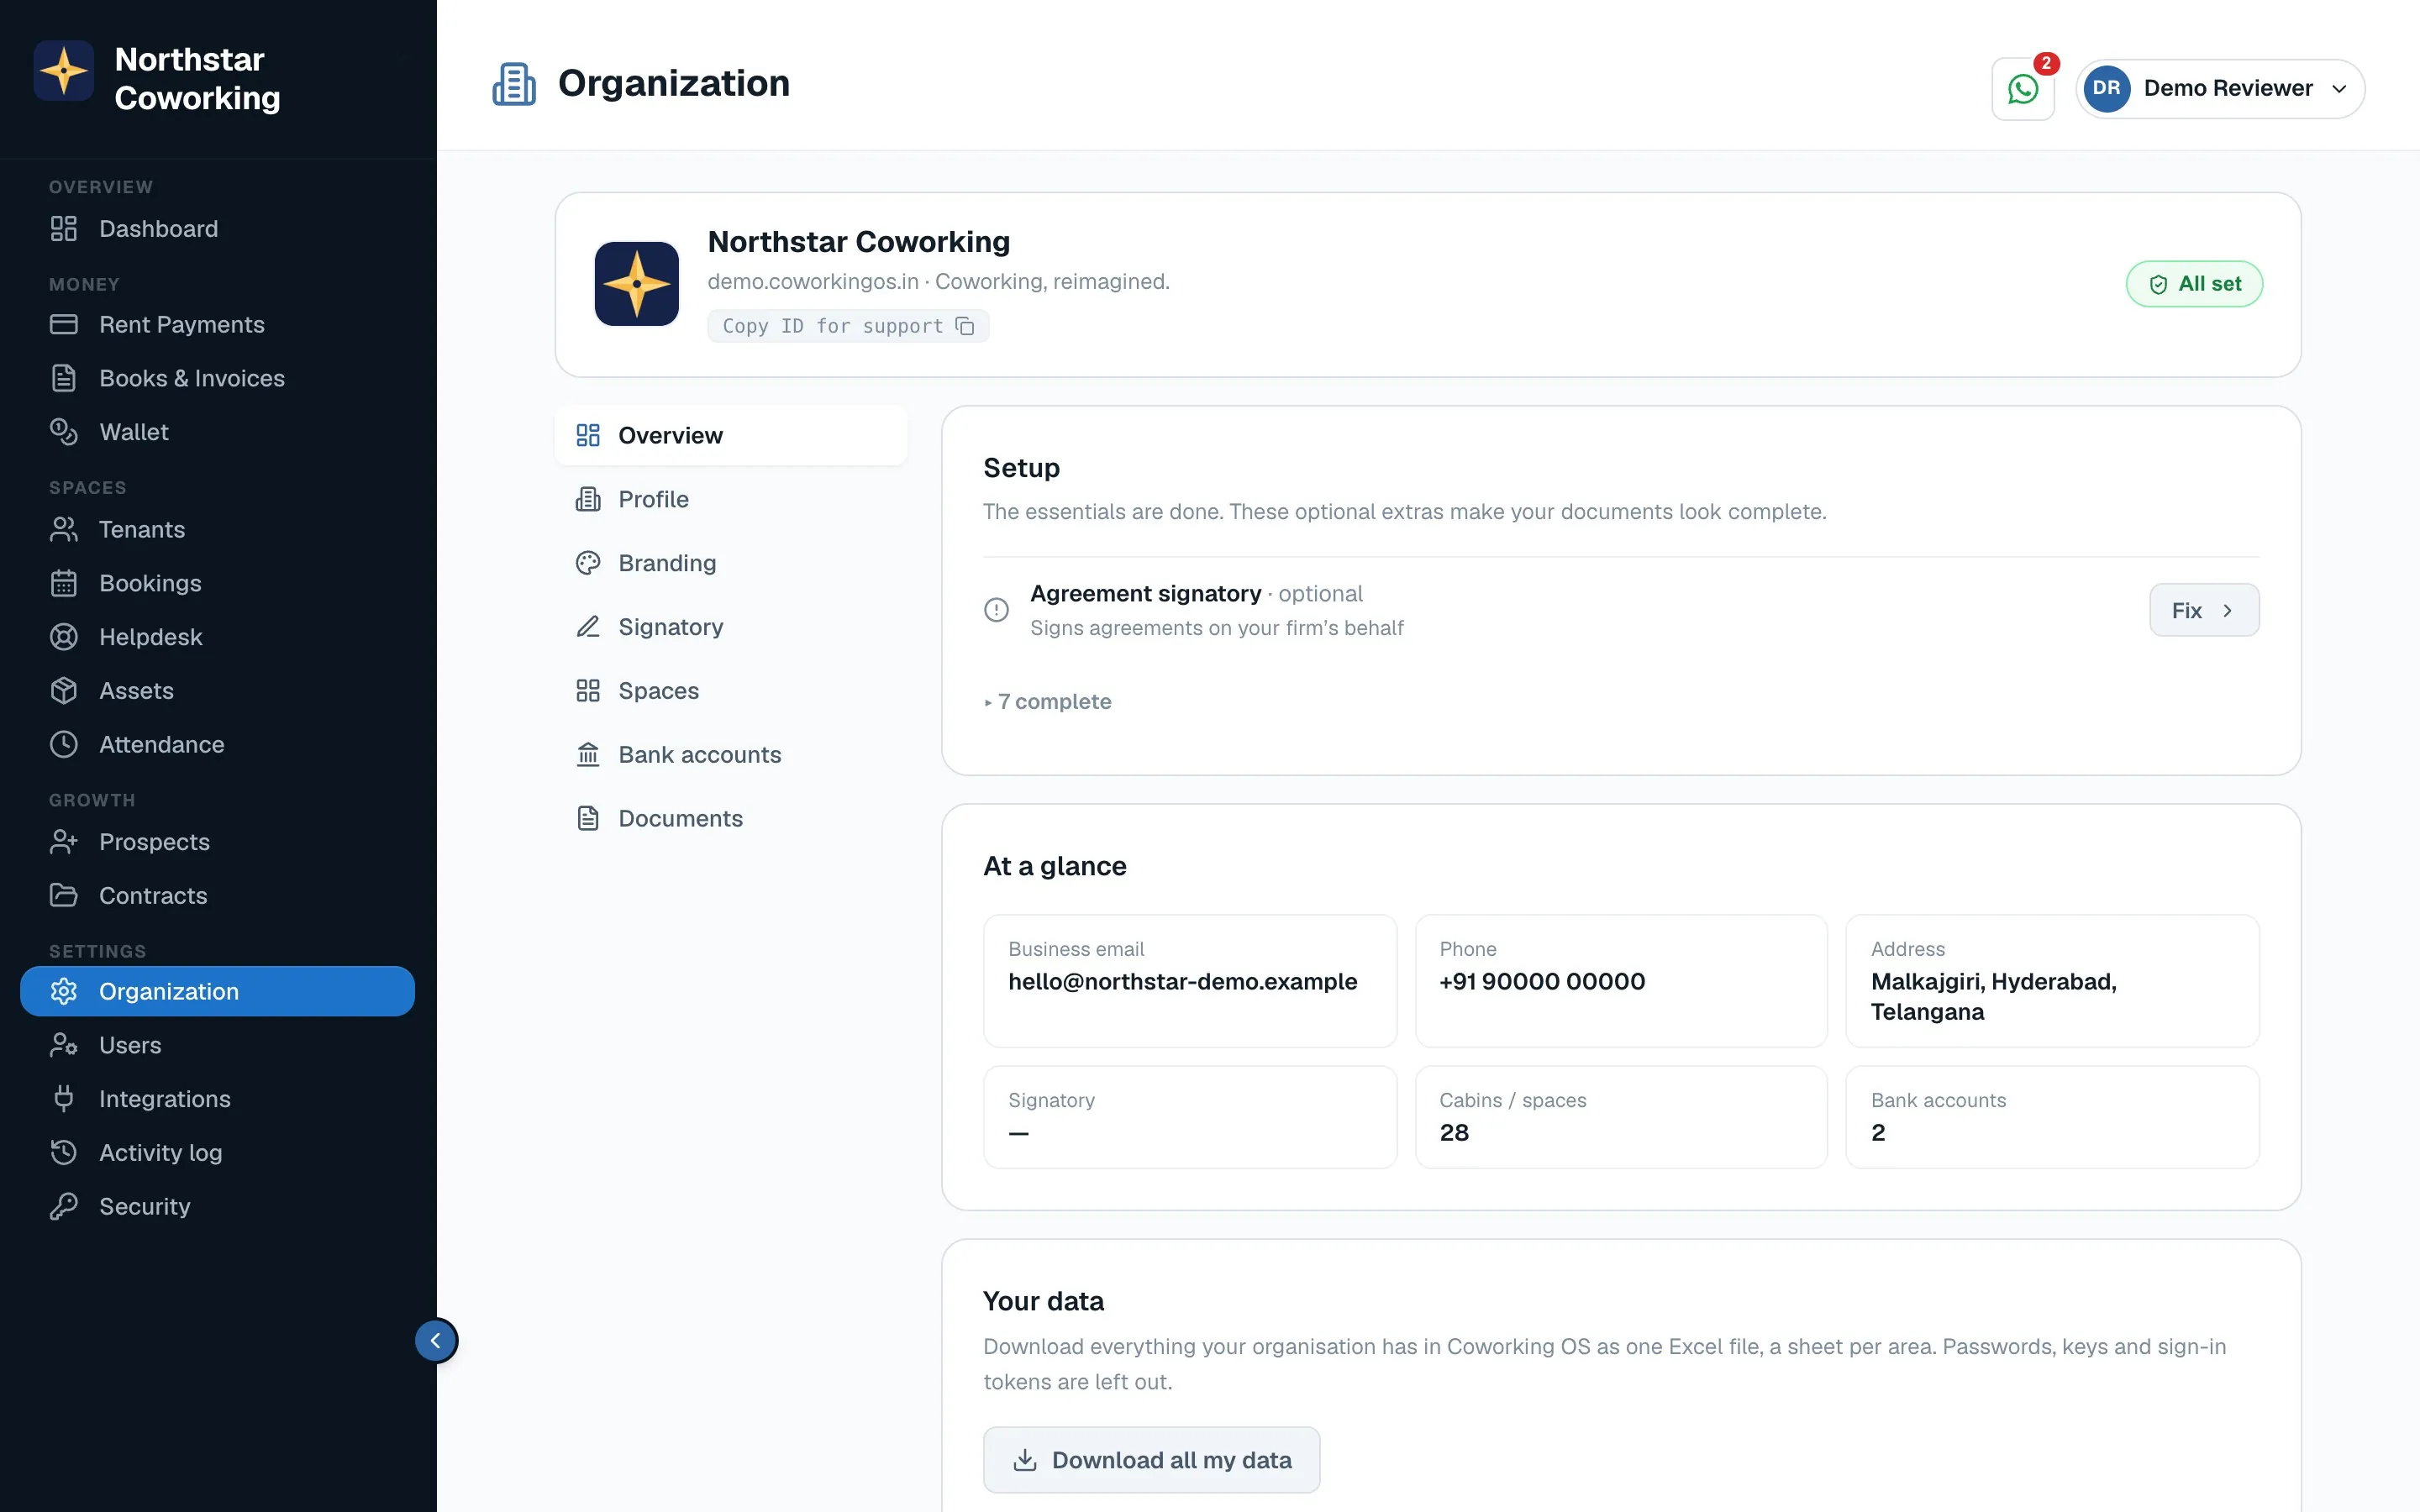
Cabins and spaces
- Click Spaces in the left column, then Add.
- Give each cabin or desk a short name as your tenants know it, for example OL-1, Desk 3 or Cabin A.
- Add the desk capacity for shared areas so occupancy counts are right.
- Save. You can add more later, and remove a cabin only when nobody is in it.
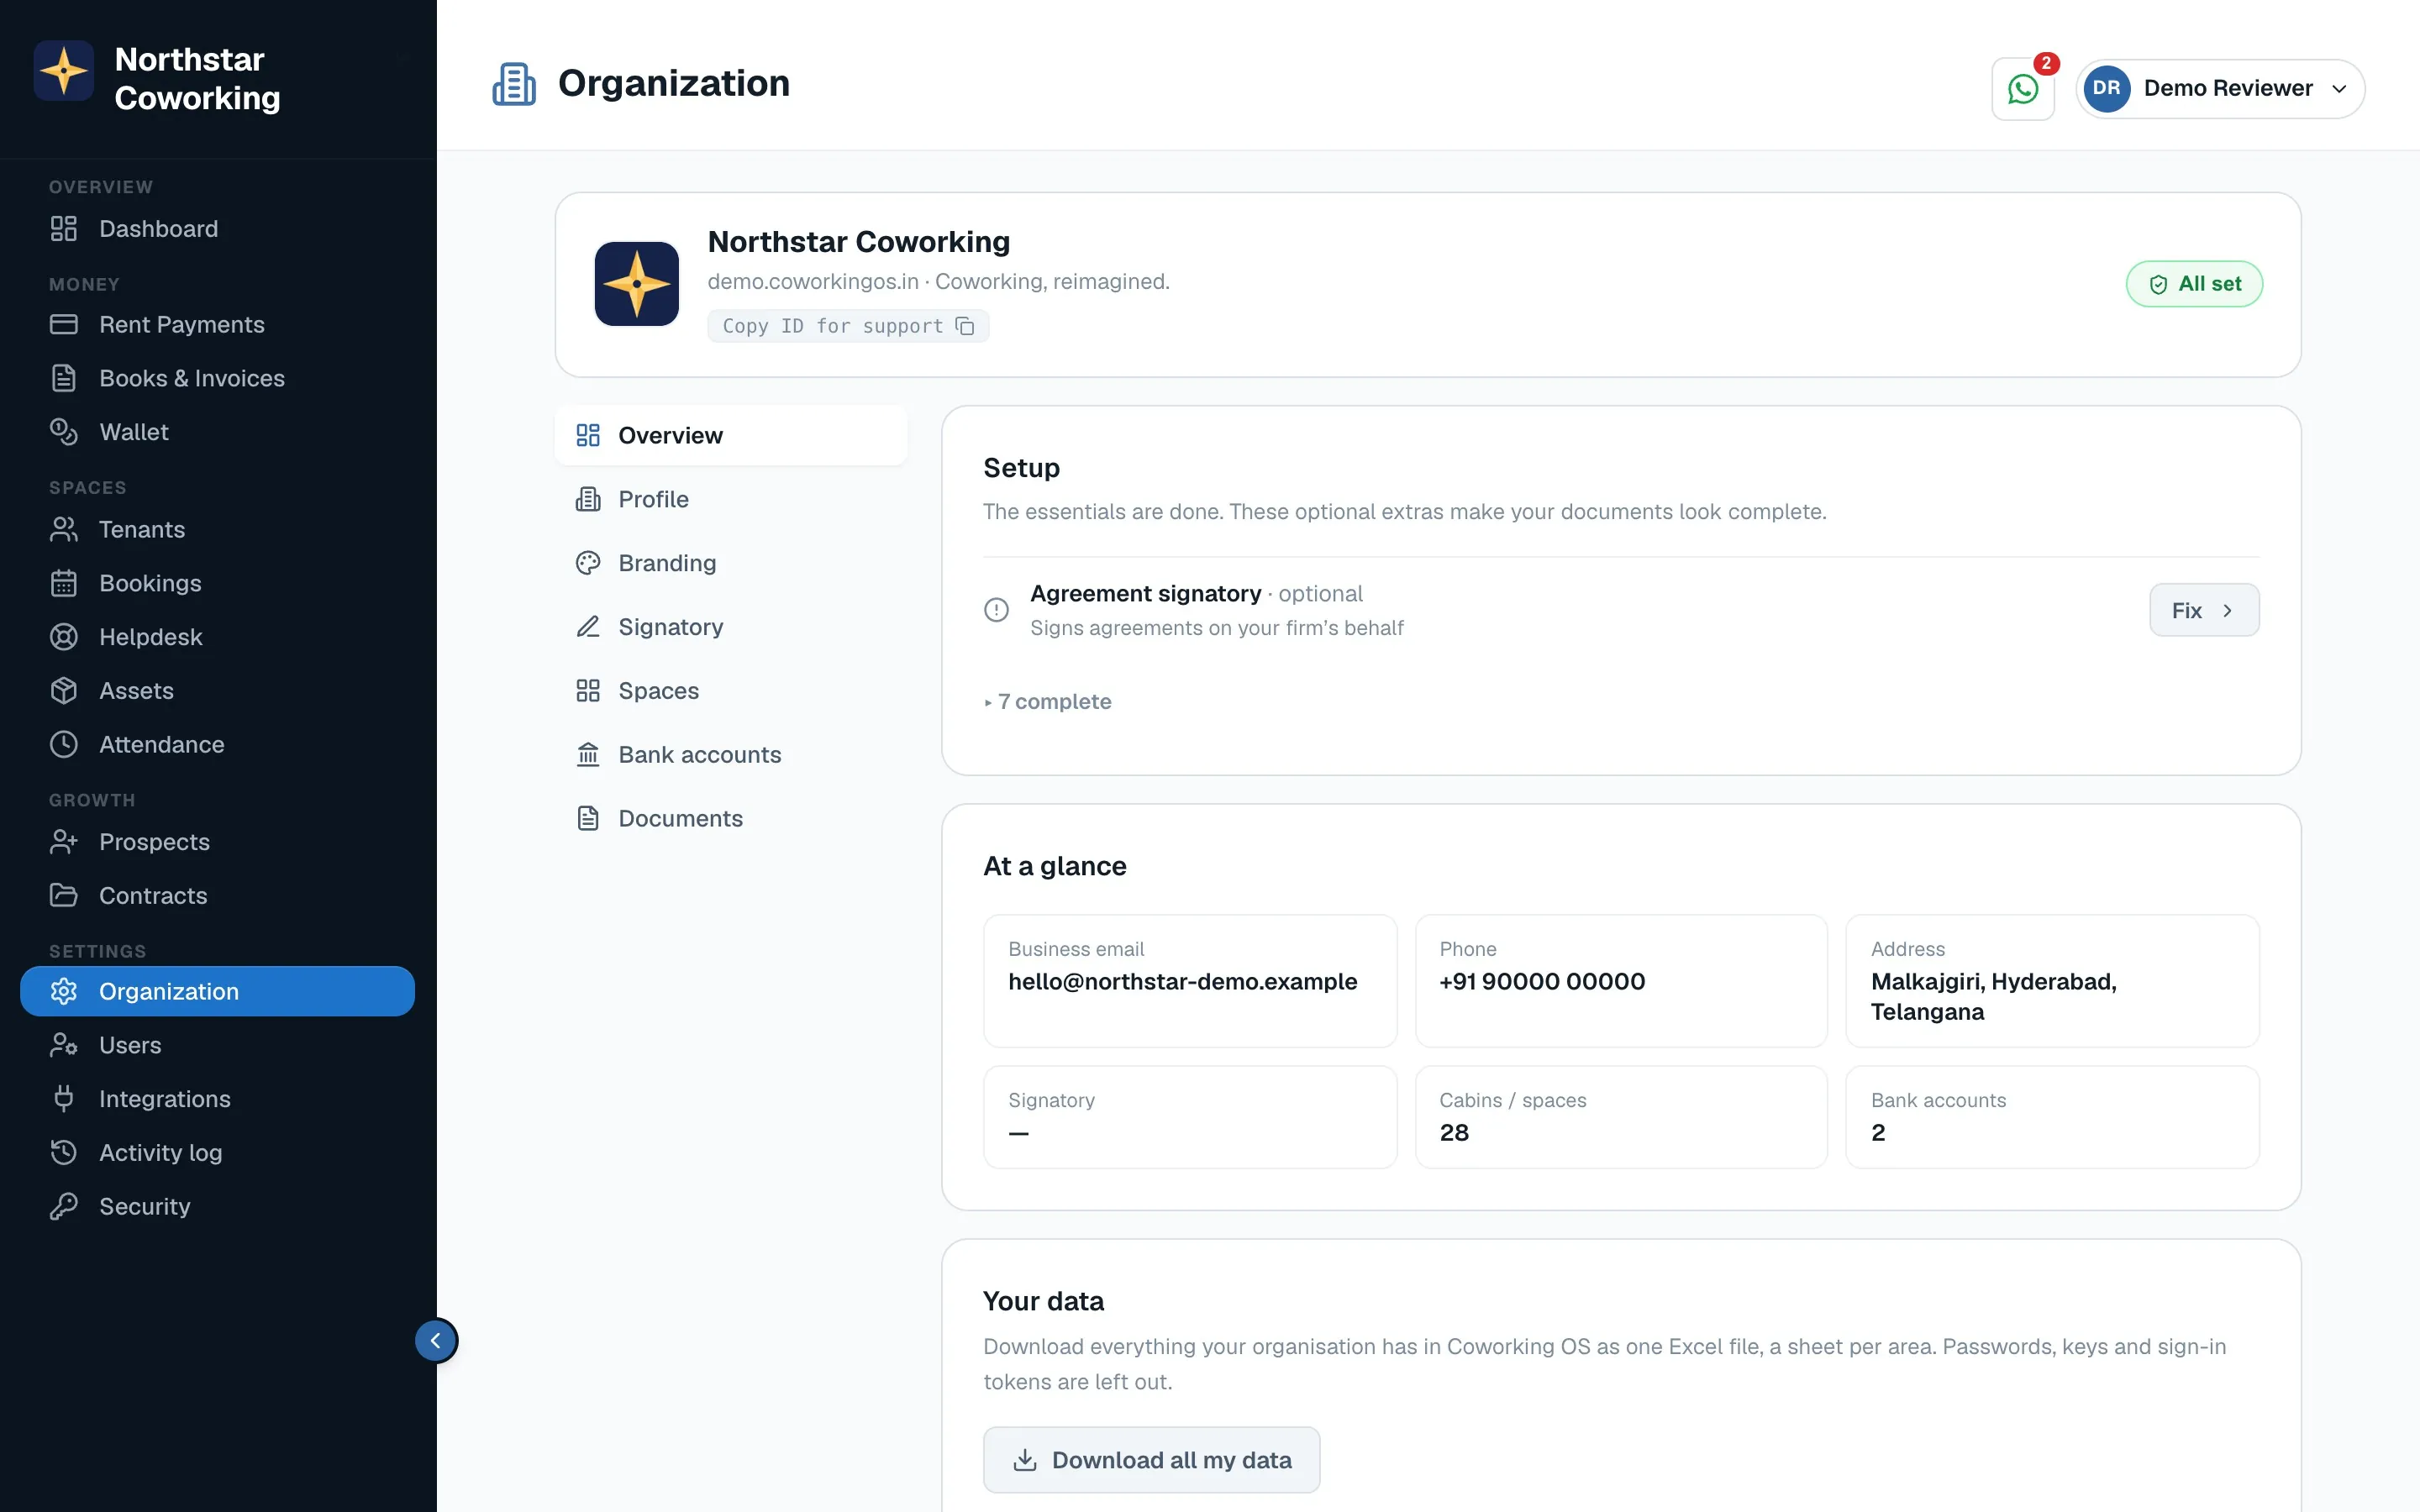
Bank accounts
- Click Bank accounts in the left column, then Add.
- Enter the account holder name, account number, IFSC and bank name exactly as on your cheque book. These are printed on every invoice, receipt and statement.
- If you use more than one account, mark one as Default. You can pick the account when recording a payment.
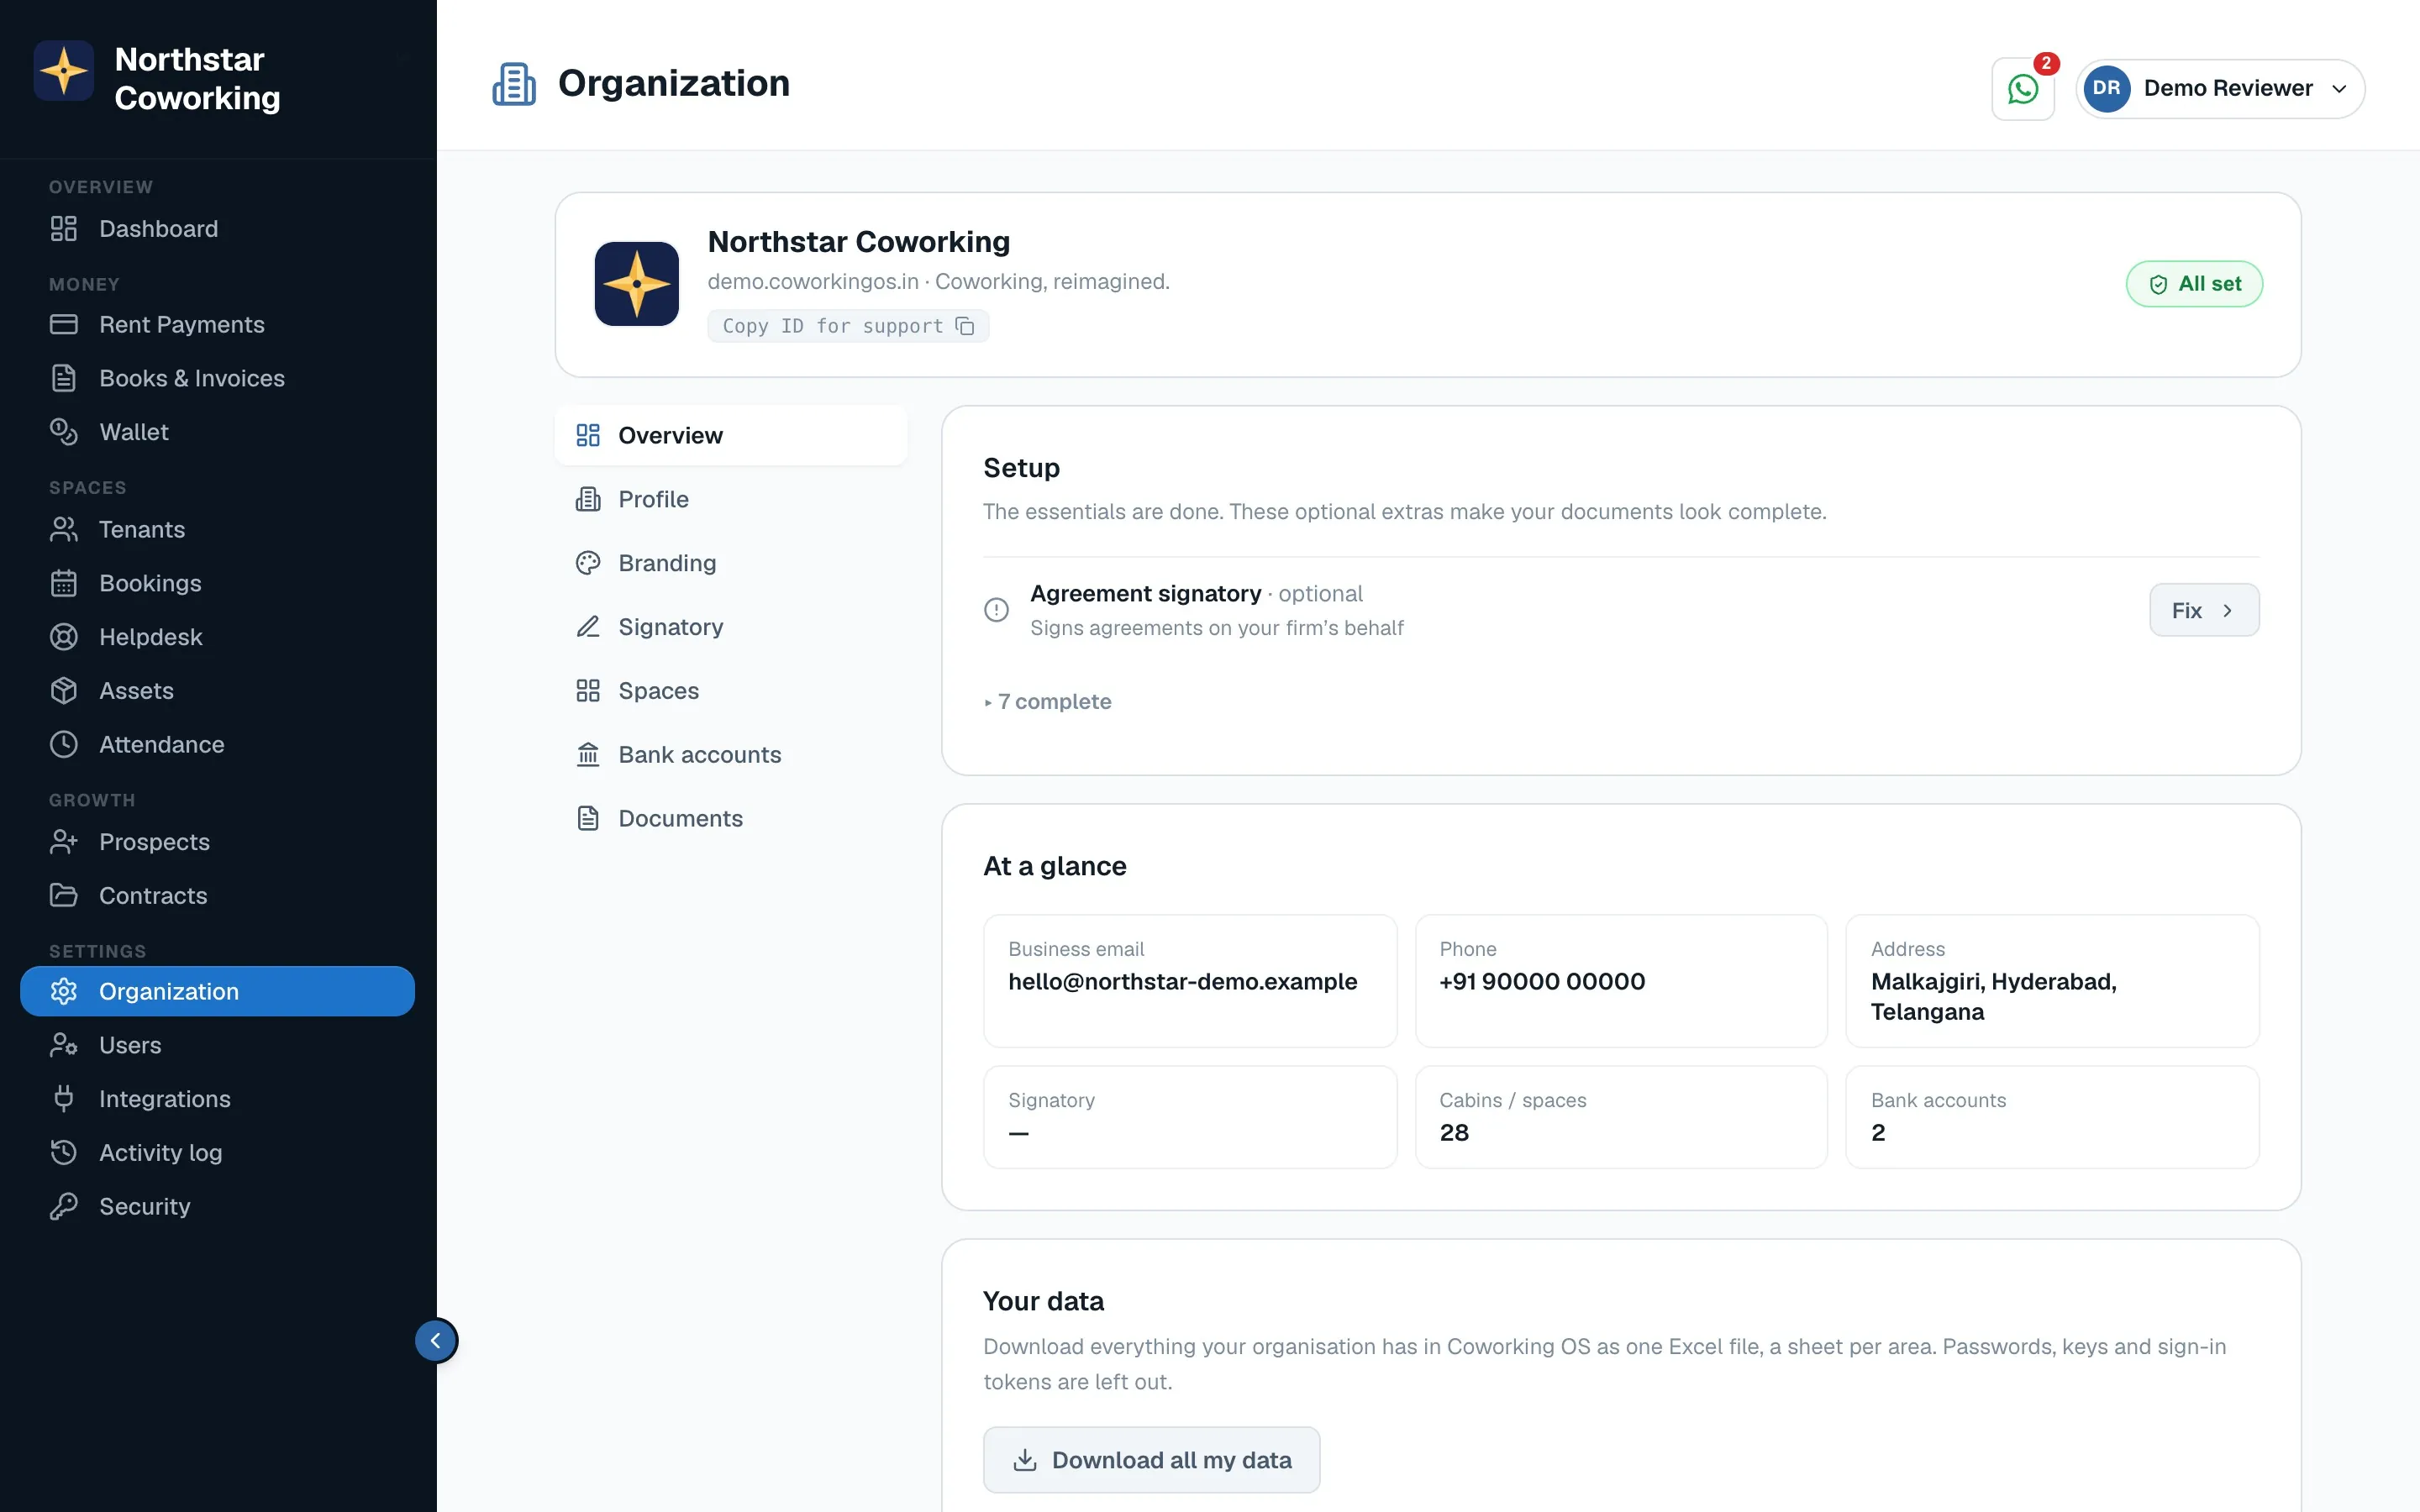
Good to know: the organisation name, logo, address and the agreement signatory on this page also appear on proposals and agreements. Fill them once.
Related guides
Still stuck? WhatsApp us or write to info@coworkingos.in. Tell us the tenant or screen and we'll sort it with you.